Review Jenkins setup
the next DevOps tools we leverage in this environment is Jenkins. It is a CI Server that we will use to execute DevOps pipeline.
Here is a good overview of Jenkins and how to work with pipelines.
Connect to your Jenkins Server. It should be http://<IP of your VM>:1180/
- Login: TenantA
- Password: Pa55w0rd

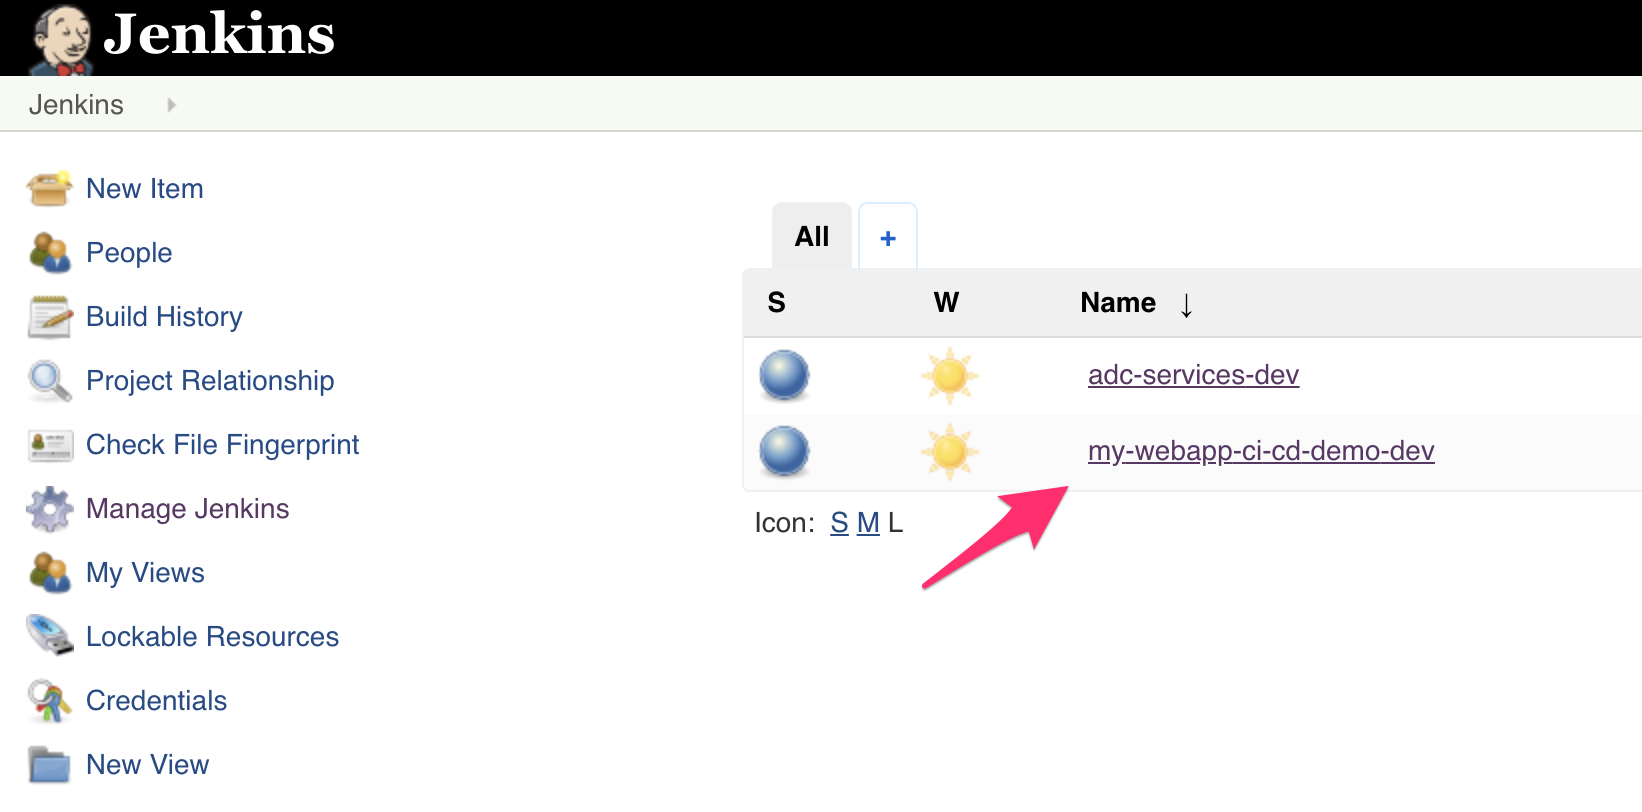
On the main page, we can see two different items:
- adc-services-dev
- my-webapp-ci-cd-demo-dev
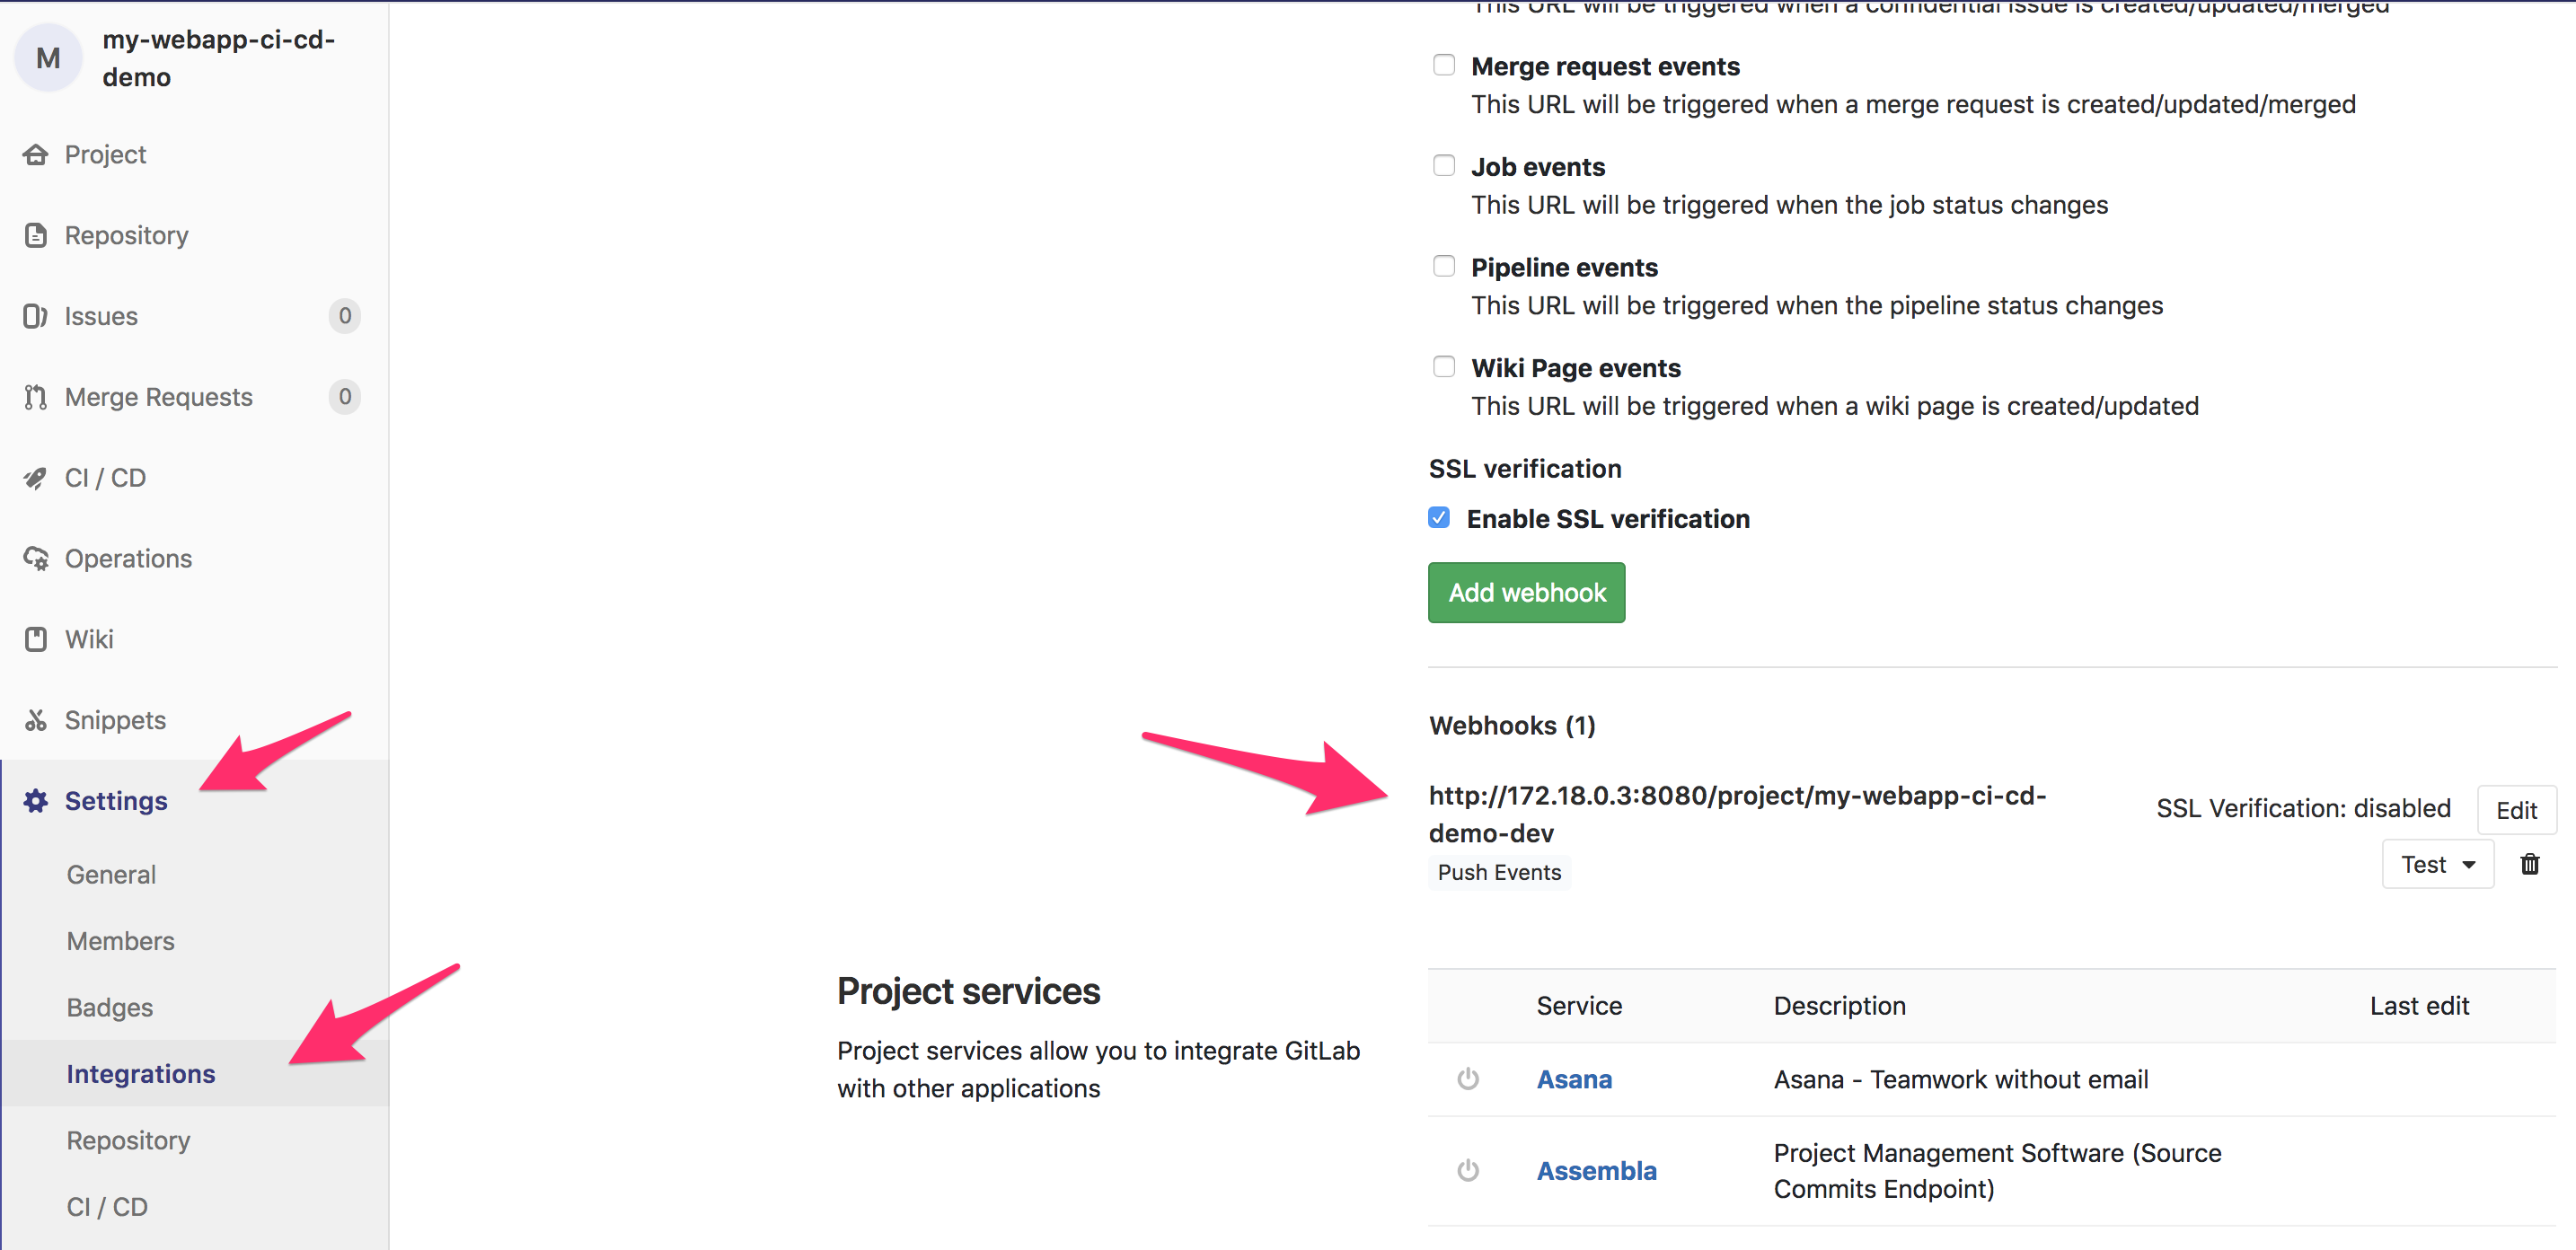
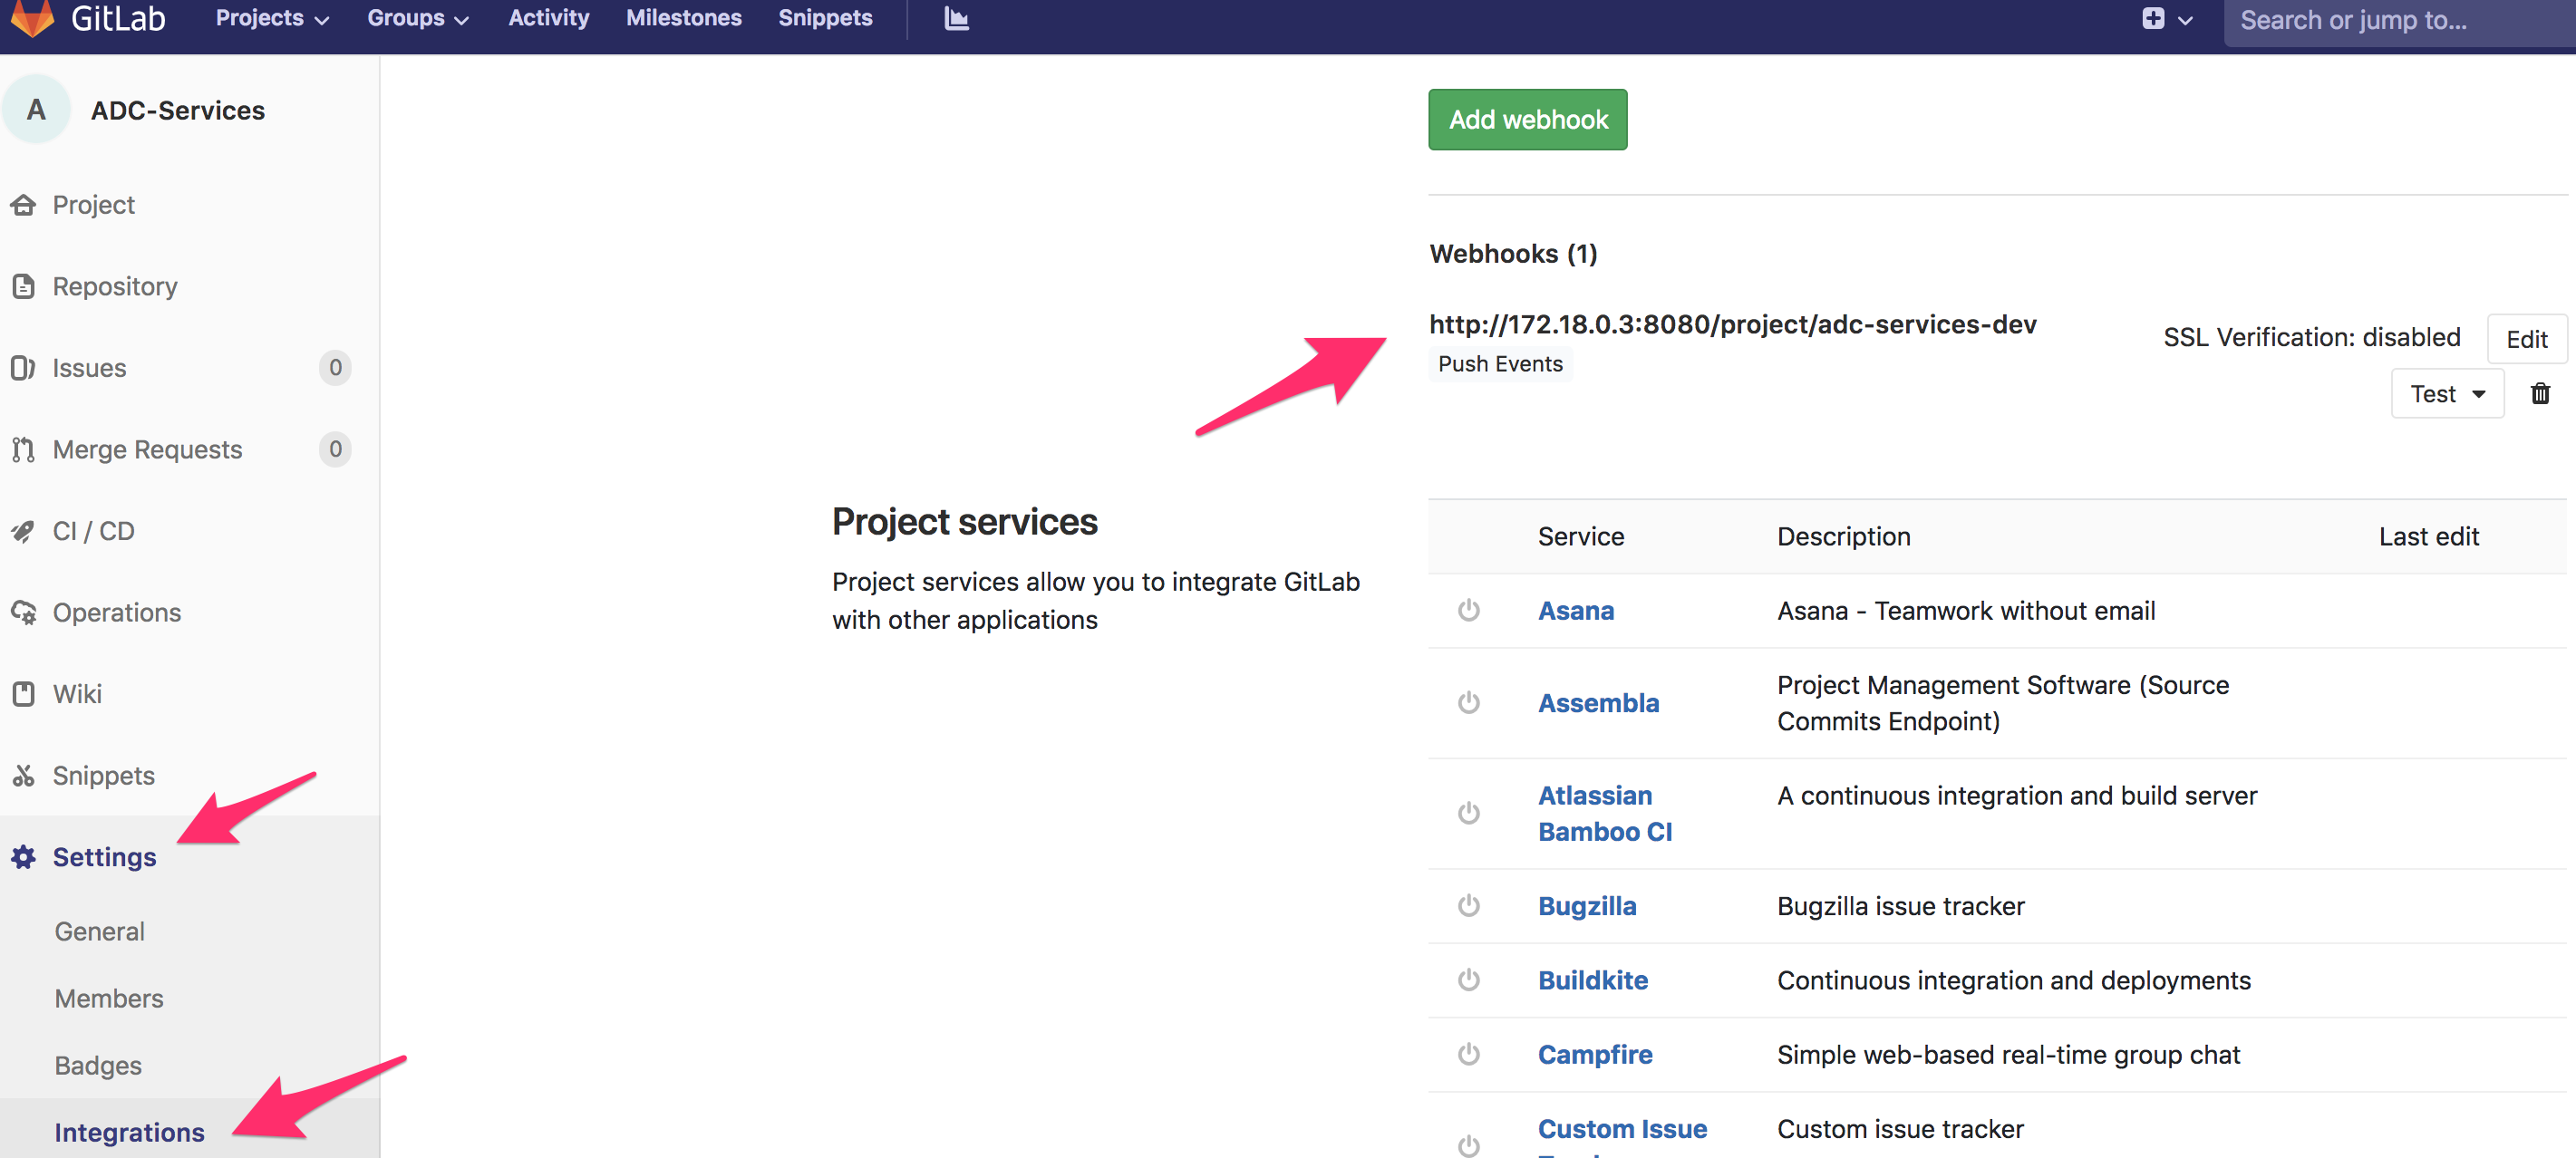
Those 2 items are pipelines. Each of them will be triggered by the WebHooks we have seen during the GitLab review. You can see those WebHooks by going back to the GitLab interface and go into Settings > Integration in each of the different repo my-webapp-ci-cd-demo and ADC-Services (Login: TenantA, Password: Pa55w0rd)
The my-webapp-ci-cd-demo-dev pipeline
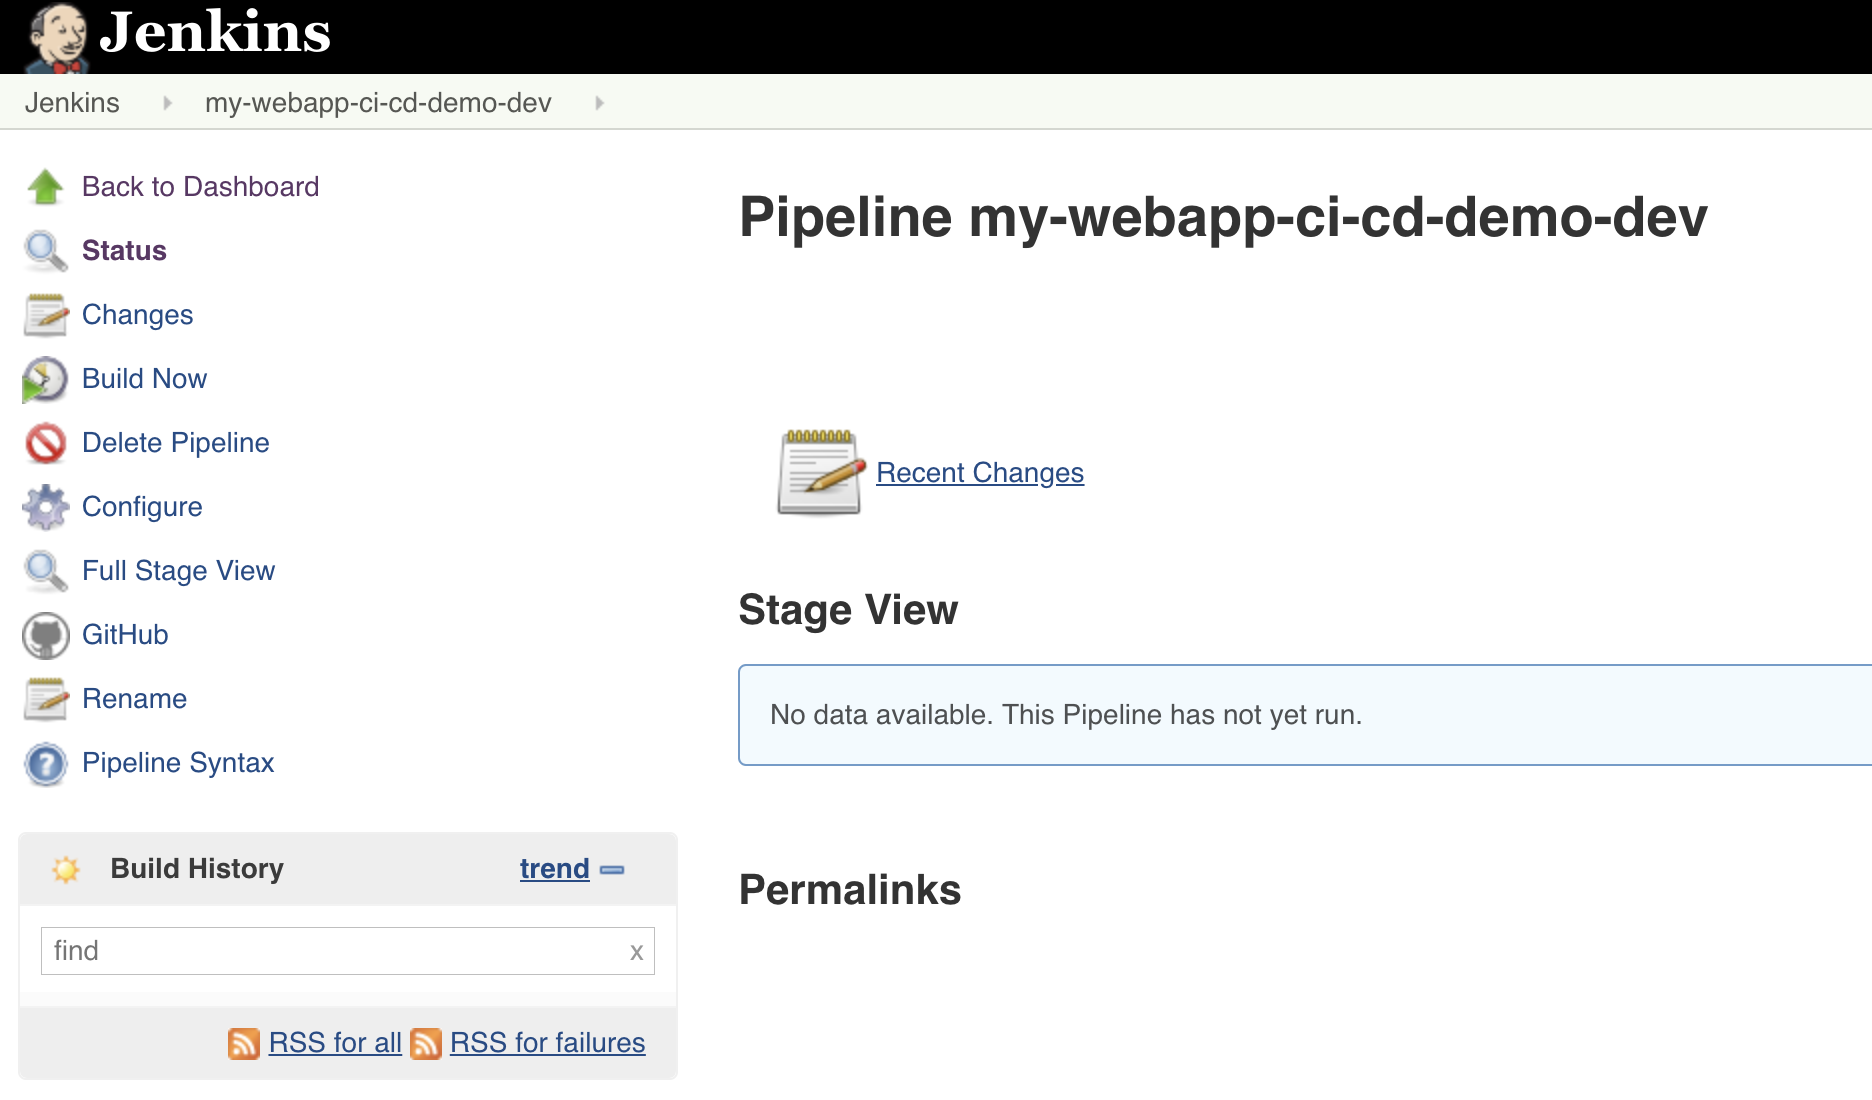
On the Jenkins GUI, click on the pipeline called my-webapp-ci-cd-demo-dev
You should see something like this :
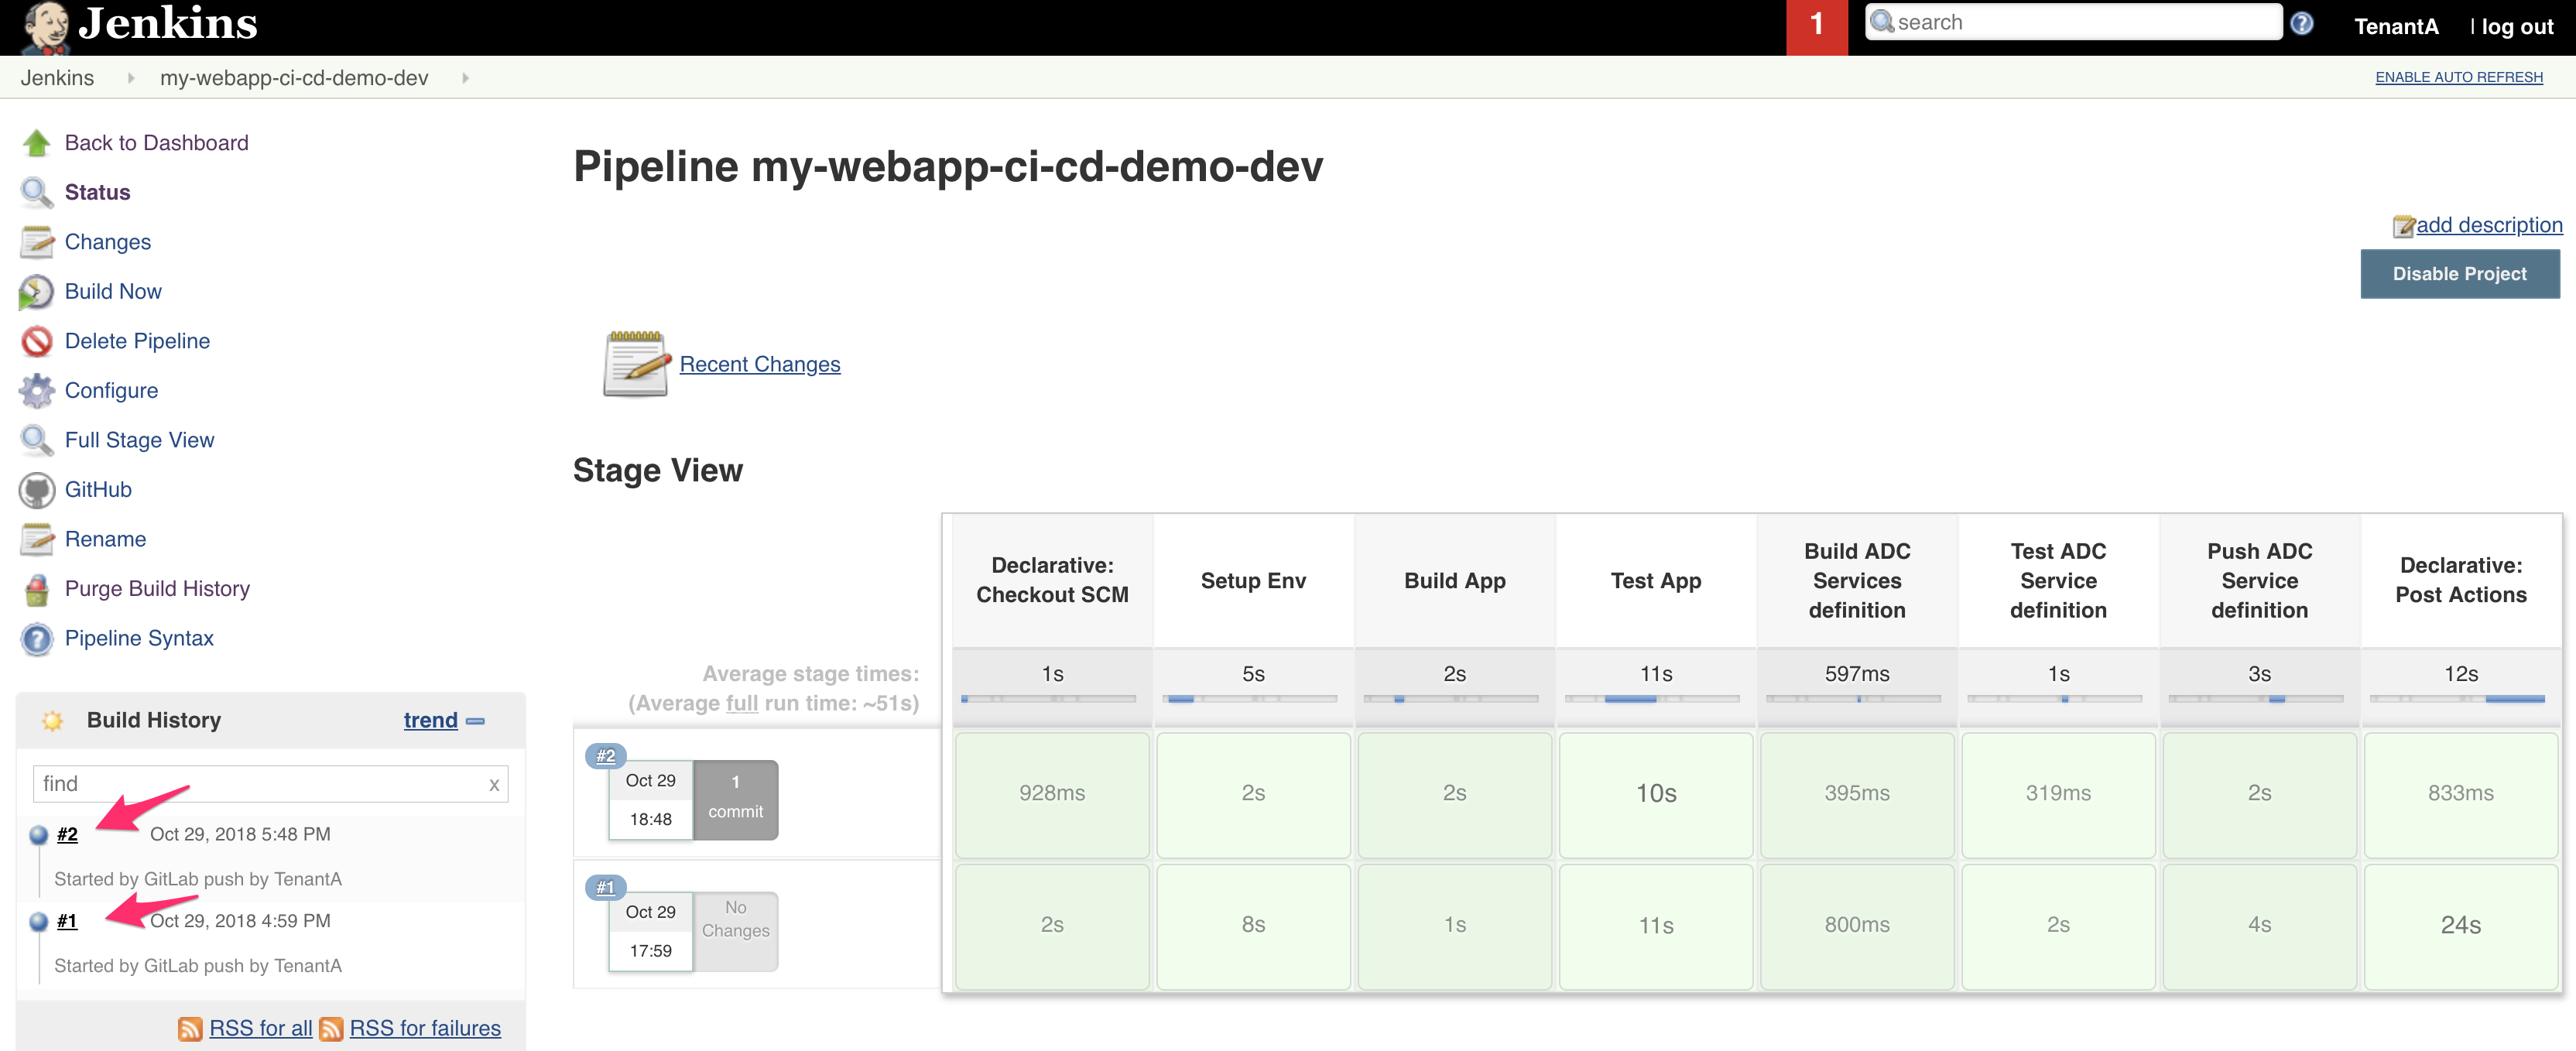
If you have already triggered the pipeline, the build section may look like this:
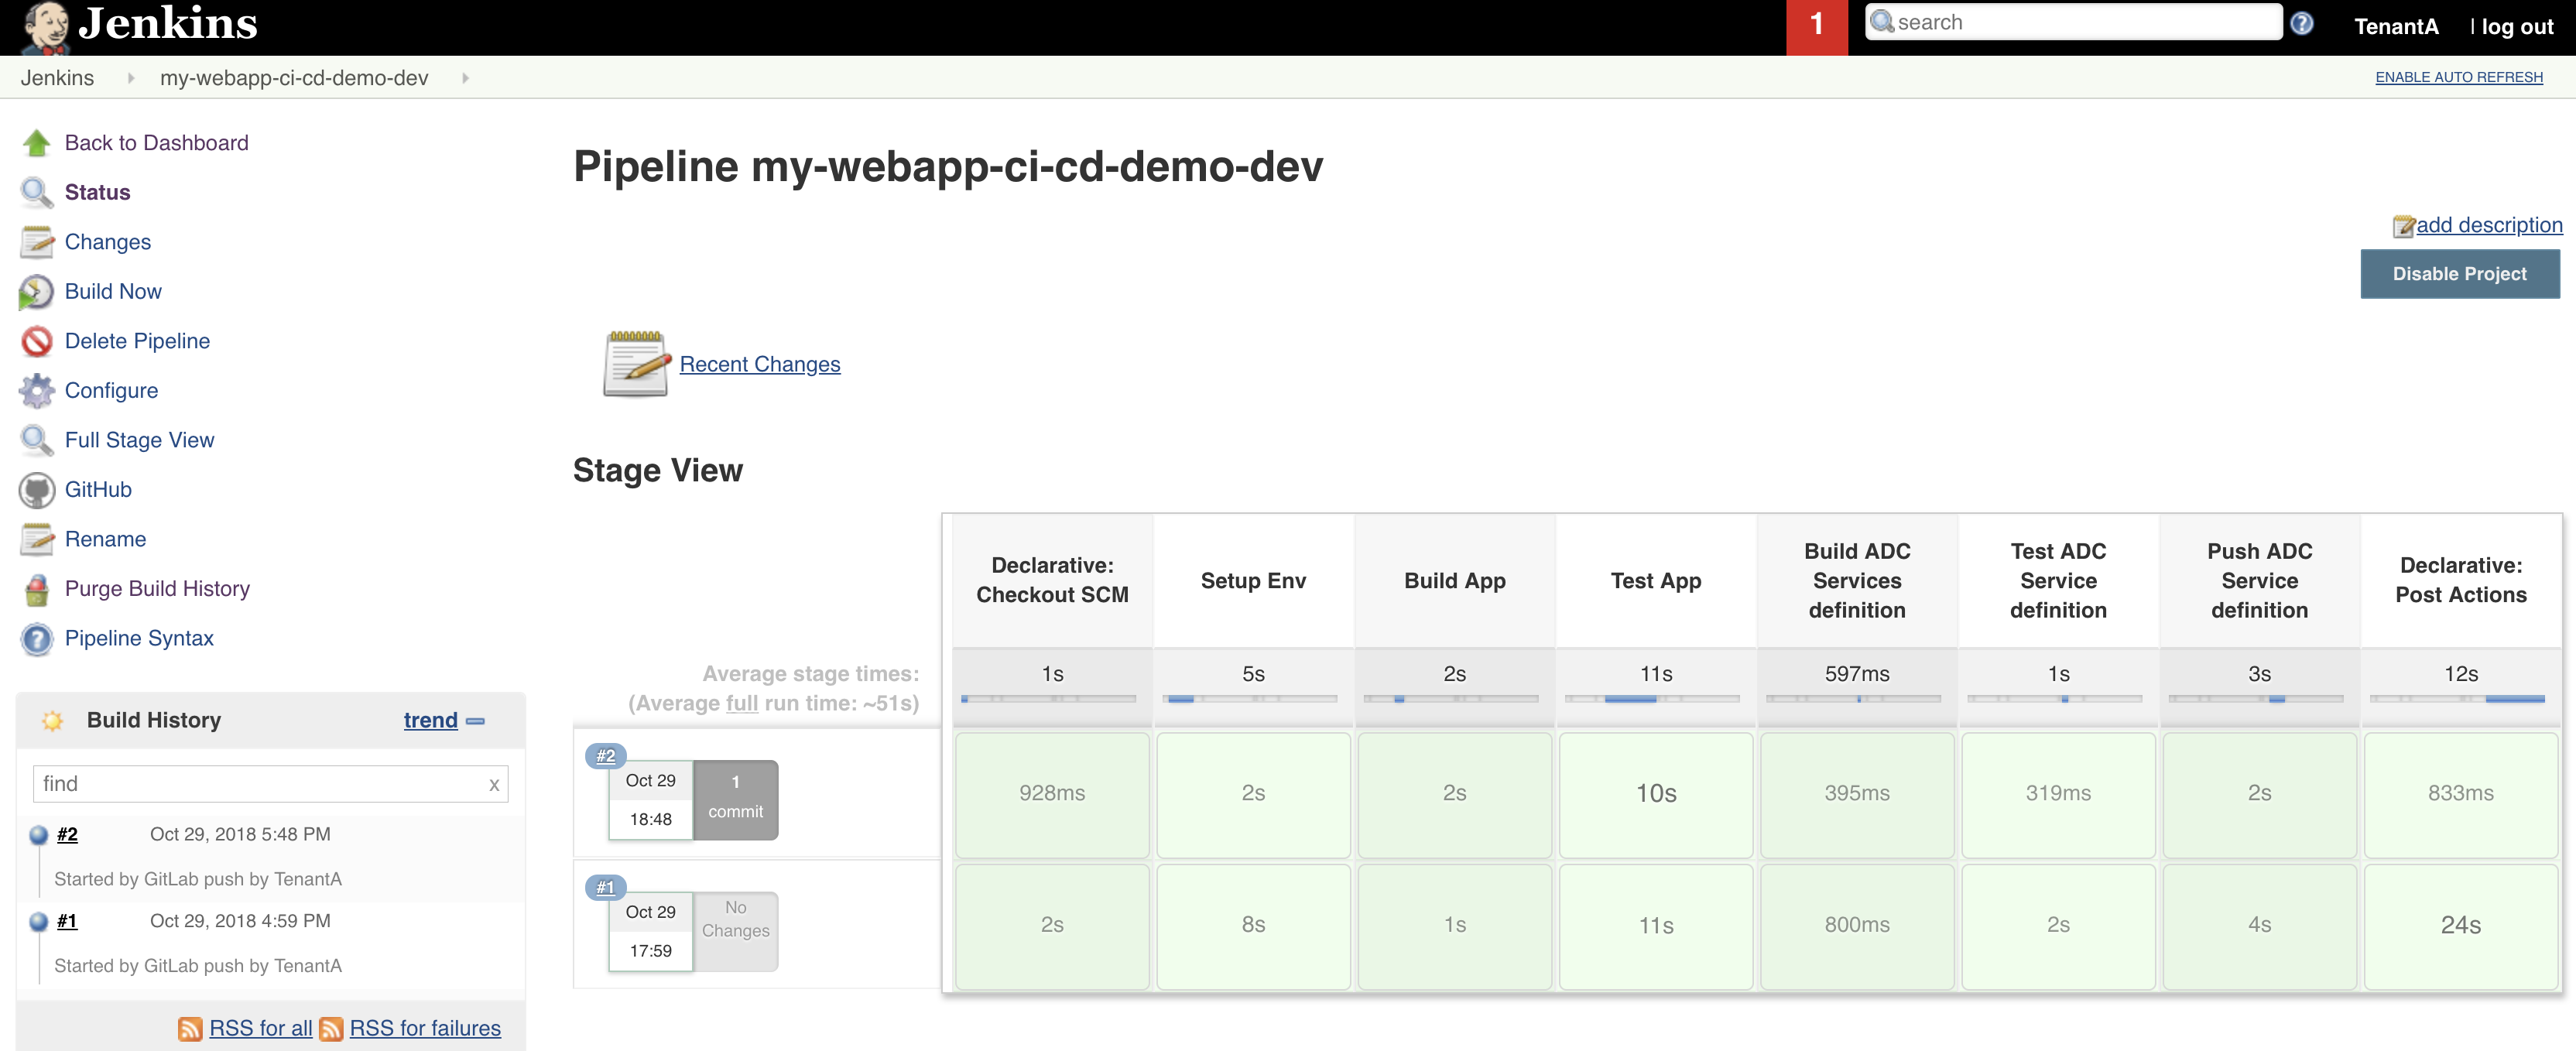
A build is one execution of your pipeline. It will show:
- the different steps of your pipeline (here we can see build app, test app, …)
- if each step is successful or not. If a step fail, it will be red and the pipeline will stop immediately
if you click on a build number, you will be able to review in details this pipeline execution. It will help you review its execution and whether it has been executed successfully or not
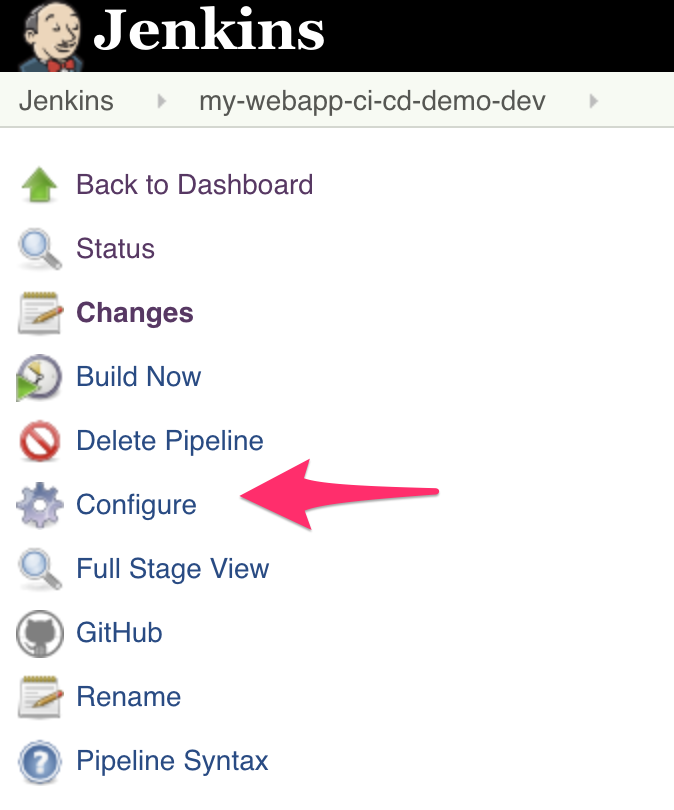
We can review a few options in the left menu :
- Build now: This would trigger the execution of the pipeline even if GitLab didn’t send a WebHook. it’s convenient when working on a pipeline for troubleshooting purposes
- Configure: Give you access to the setup of this pipeline. We will review it later
- GitHub: Link to send you to the related Github/GitLab repo. It’s defined in the setup.
We can click on Configure to review the setup of this pipeline.
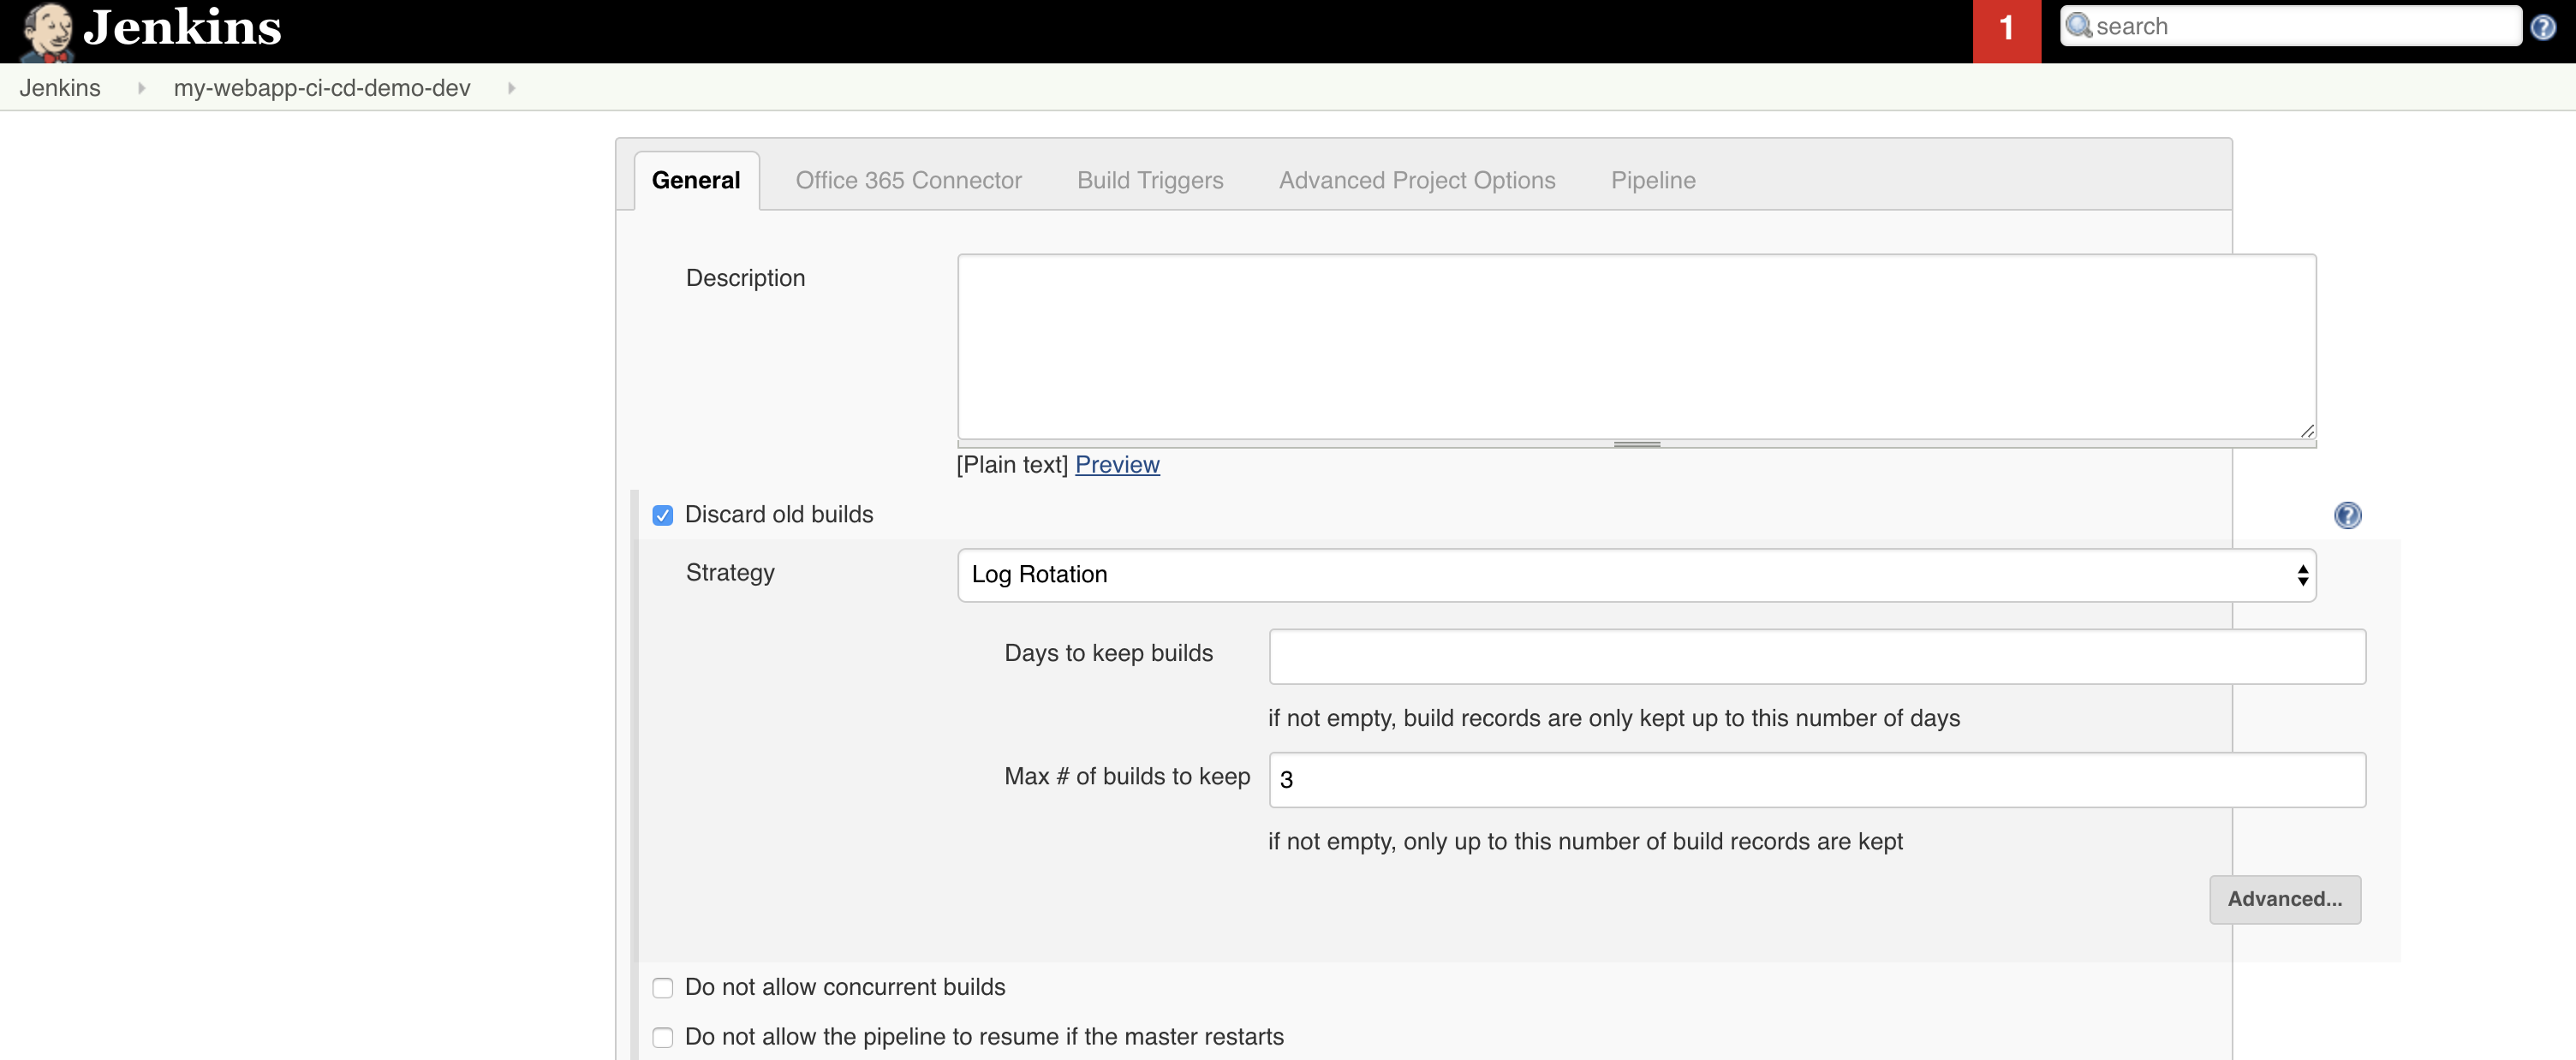
Let’s review the different sections of our pipeline
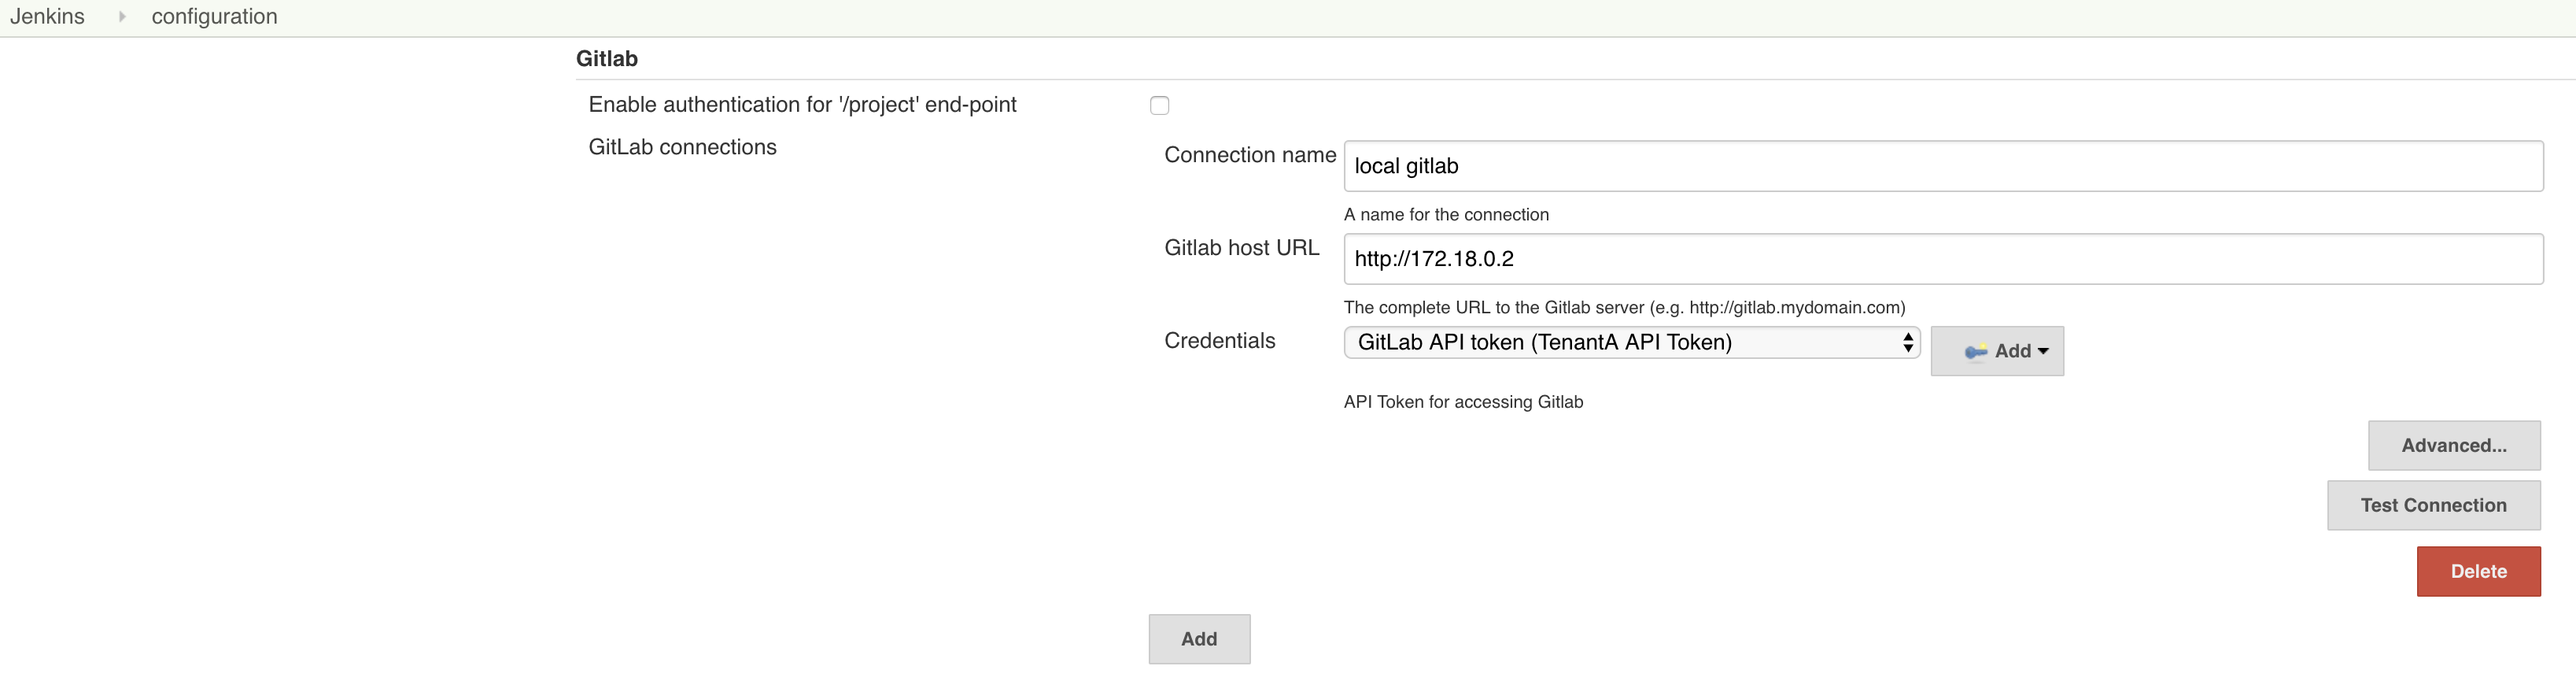
Scroll down to the Github section:

Here we reference our related GitLab project. We specify the URL to it and how to authenticate on this repo (in case it’s needed). We reference GitLab local which has been setup previously. You can check the authentication that has been setup here: Jenkins Home page > Manage Jenkins > Configure System and scroll down to the GitLab section
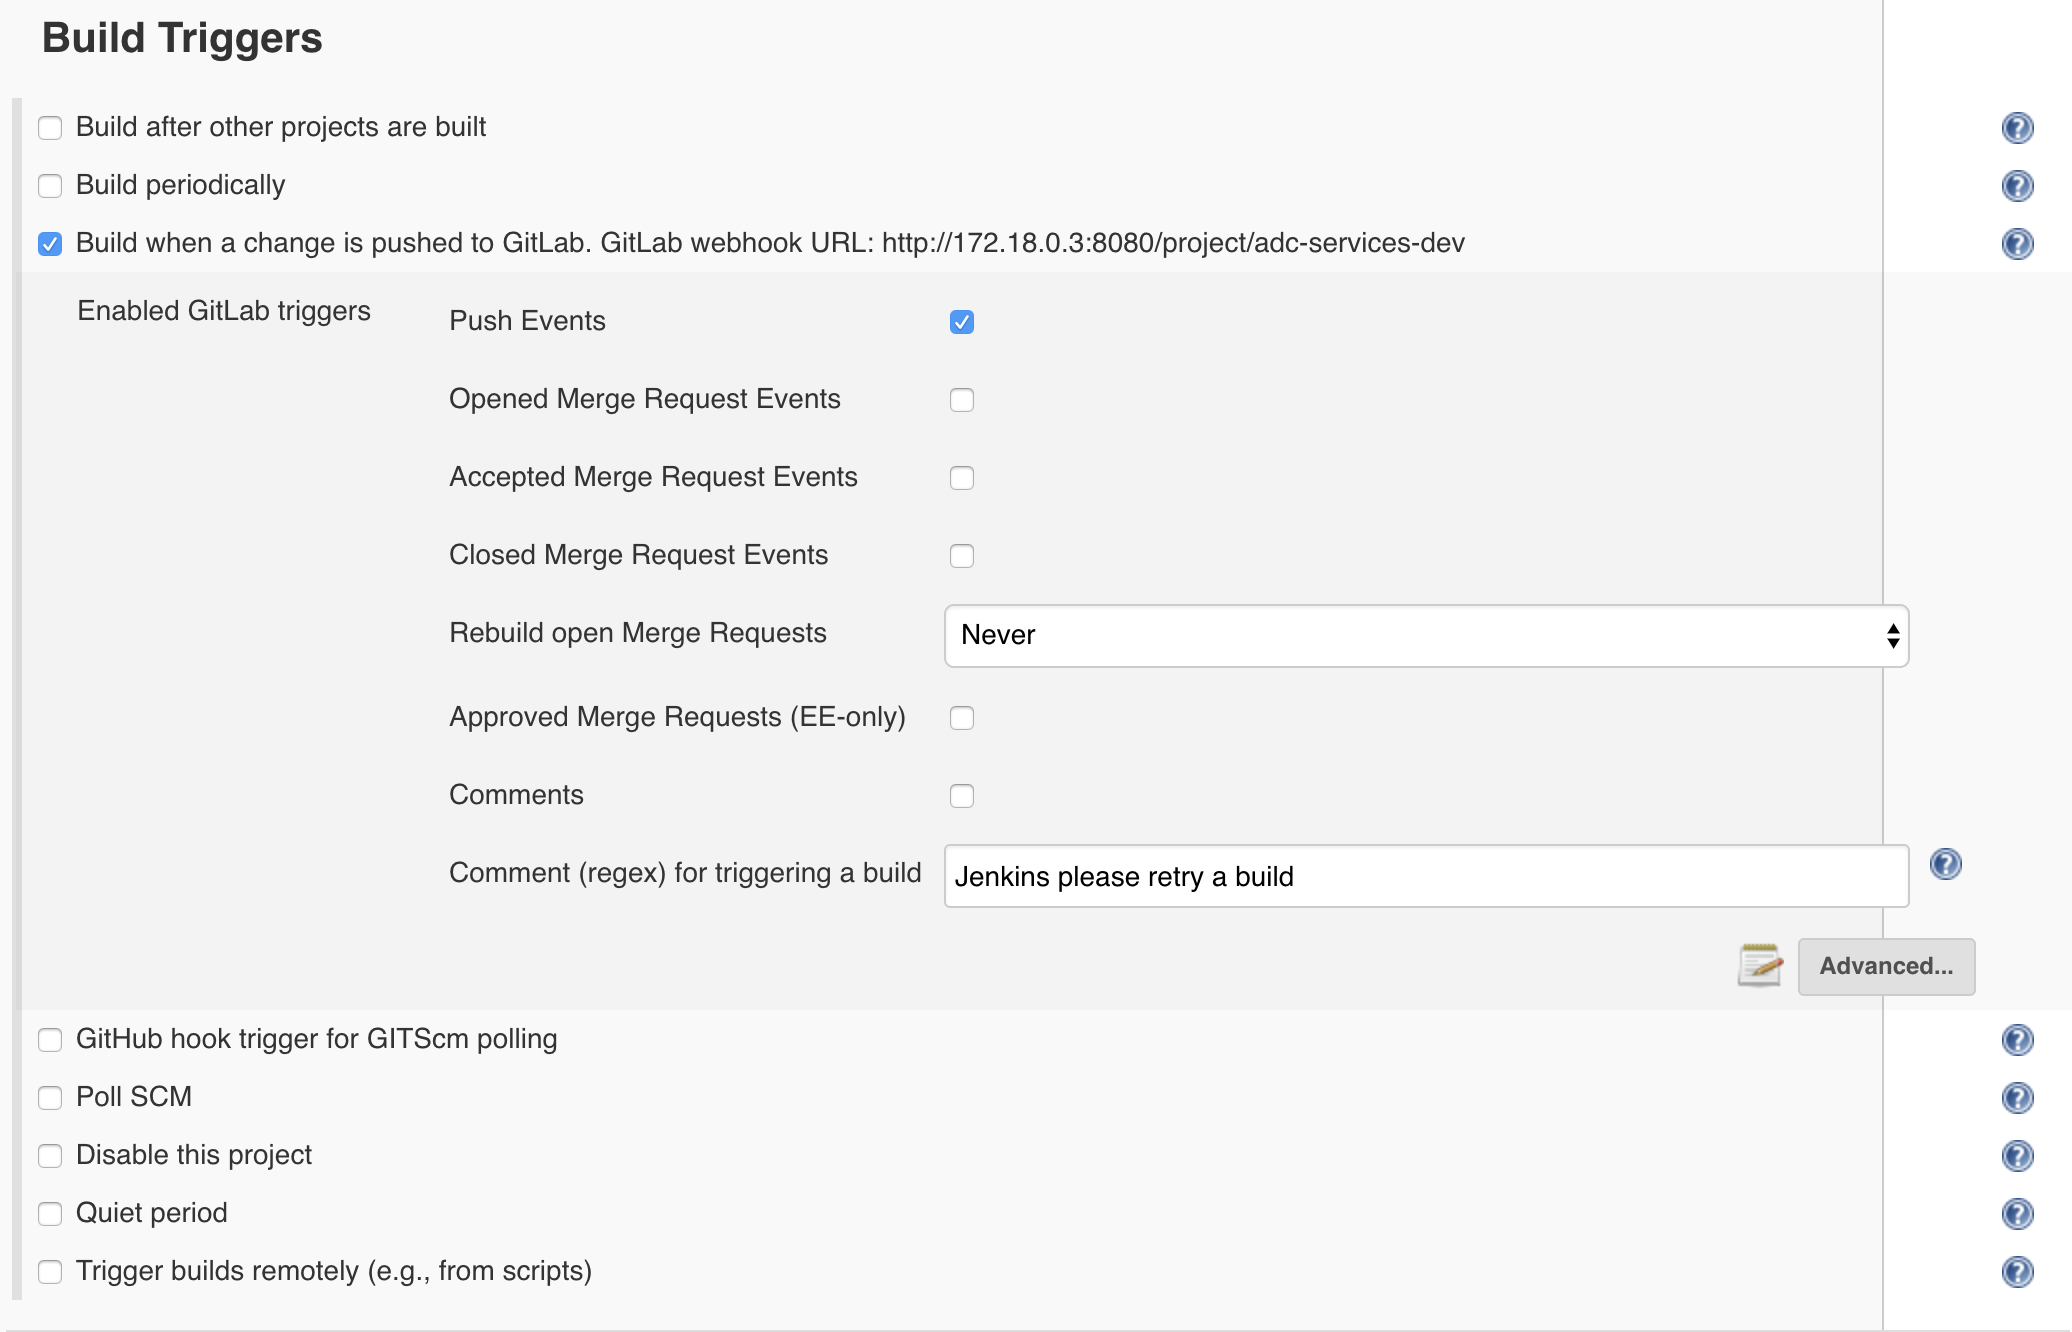
In the Build Triggers section of your pipeline, you can see the following:
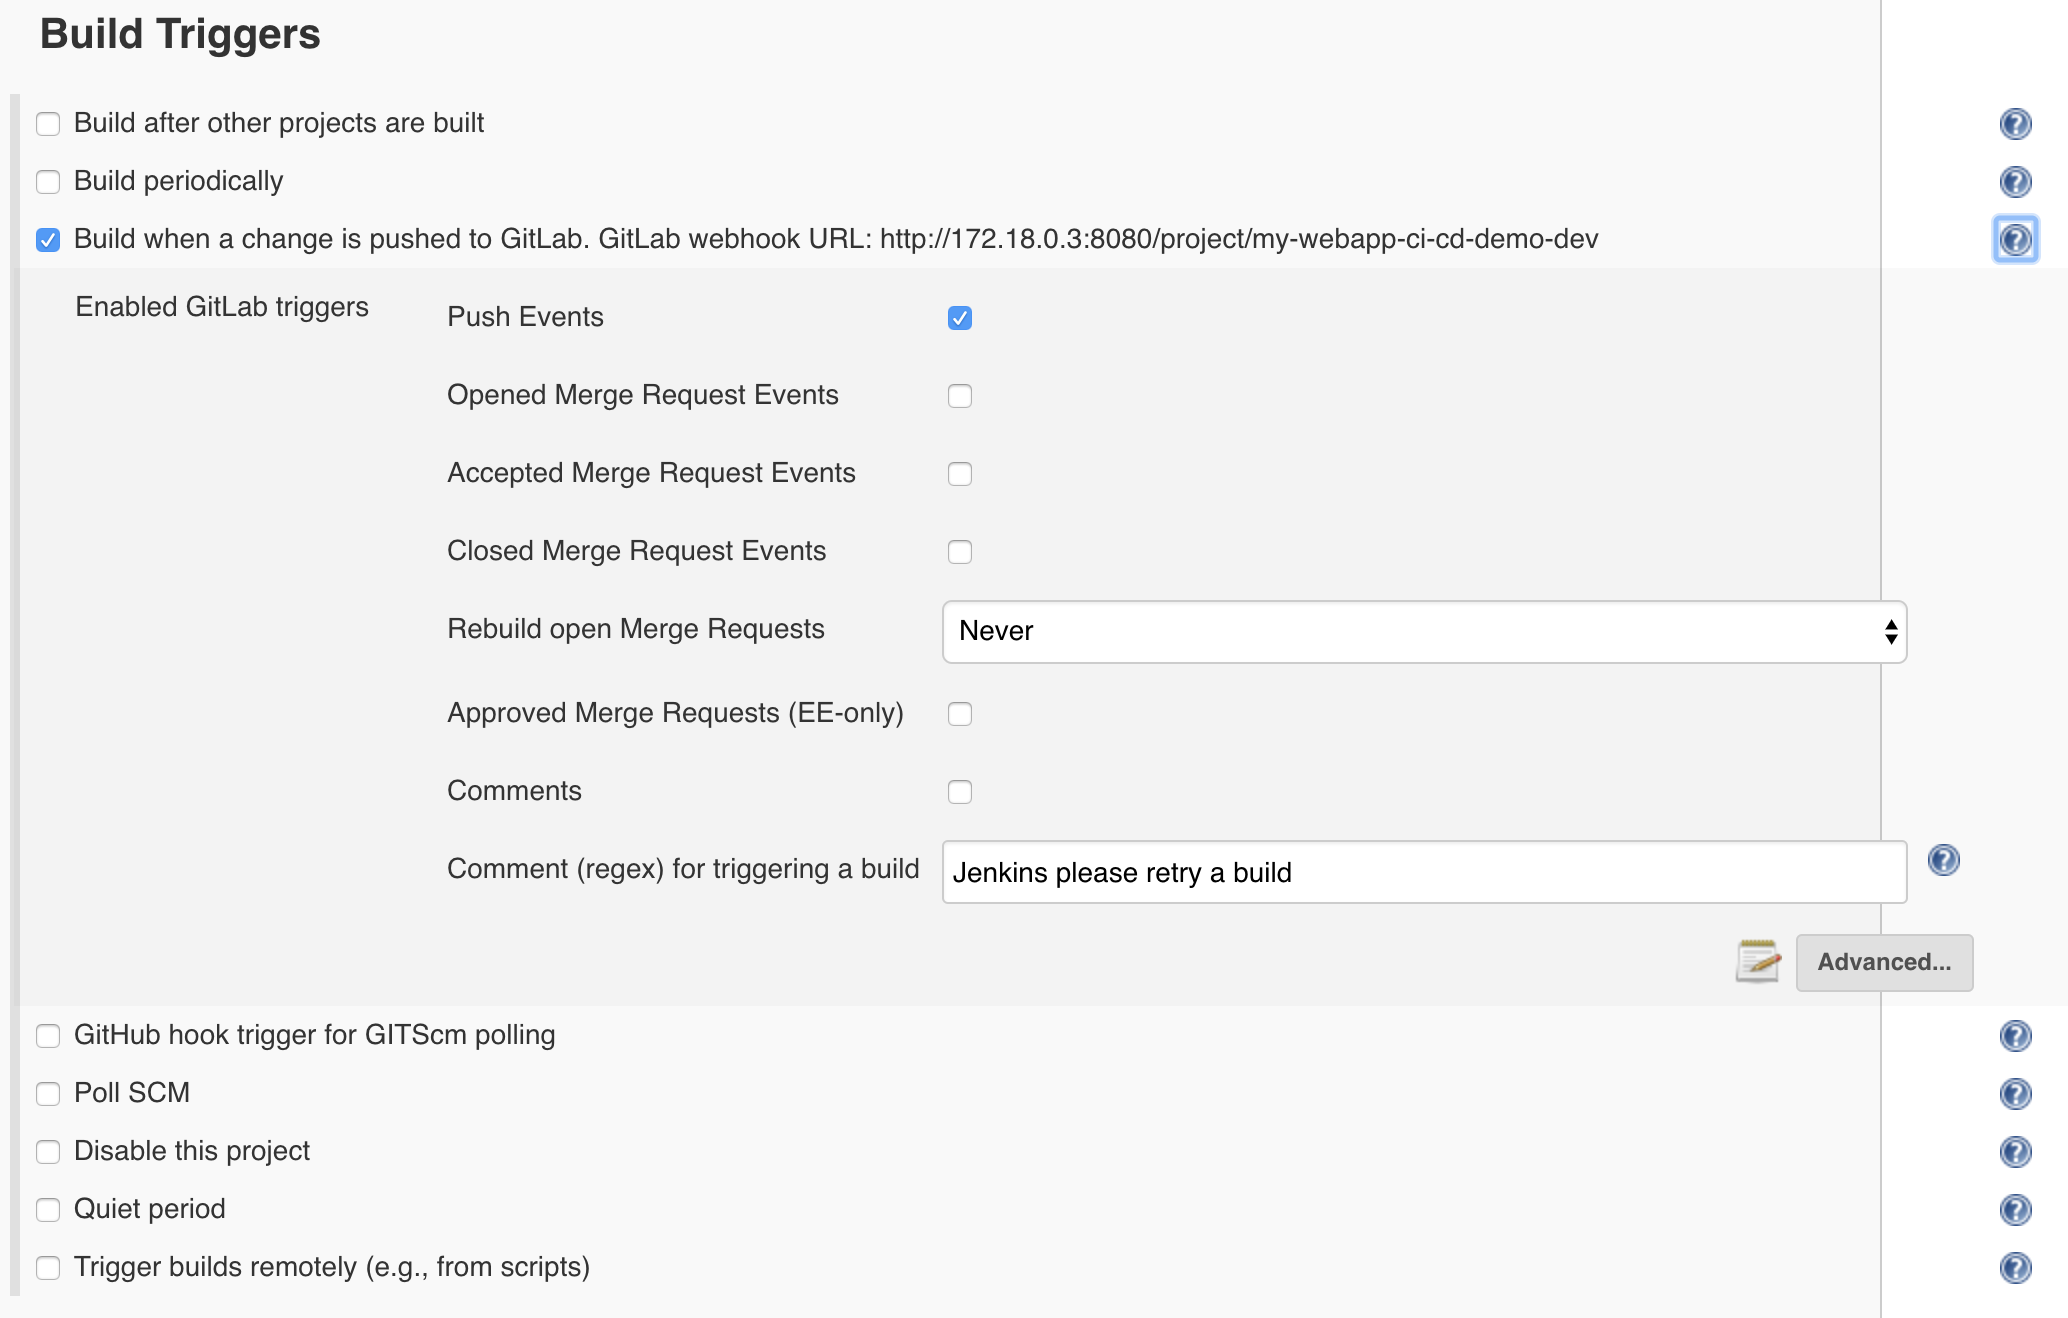
Here we explain when a new build of our pipeline should be triggered: We explain that if we receive a WebHook to this specific URL: http://172.18.0.3:8080/project/my-webapp-ci-cd-demo-dev , we will trigger a build
If you remember the GitLab setup, we specified for the my-webapp-ci-cd-demo repo a WebHook targetting this URL:
Go to the last section of our setup, called Pipeline
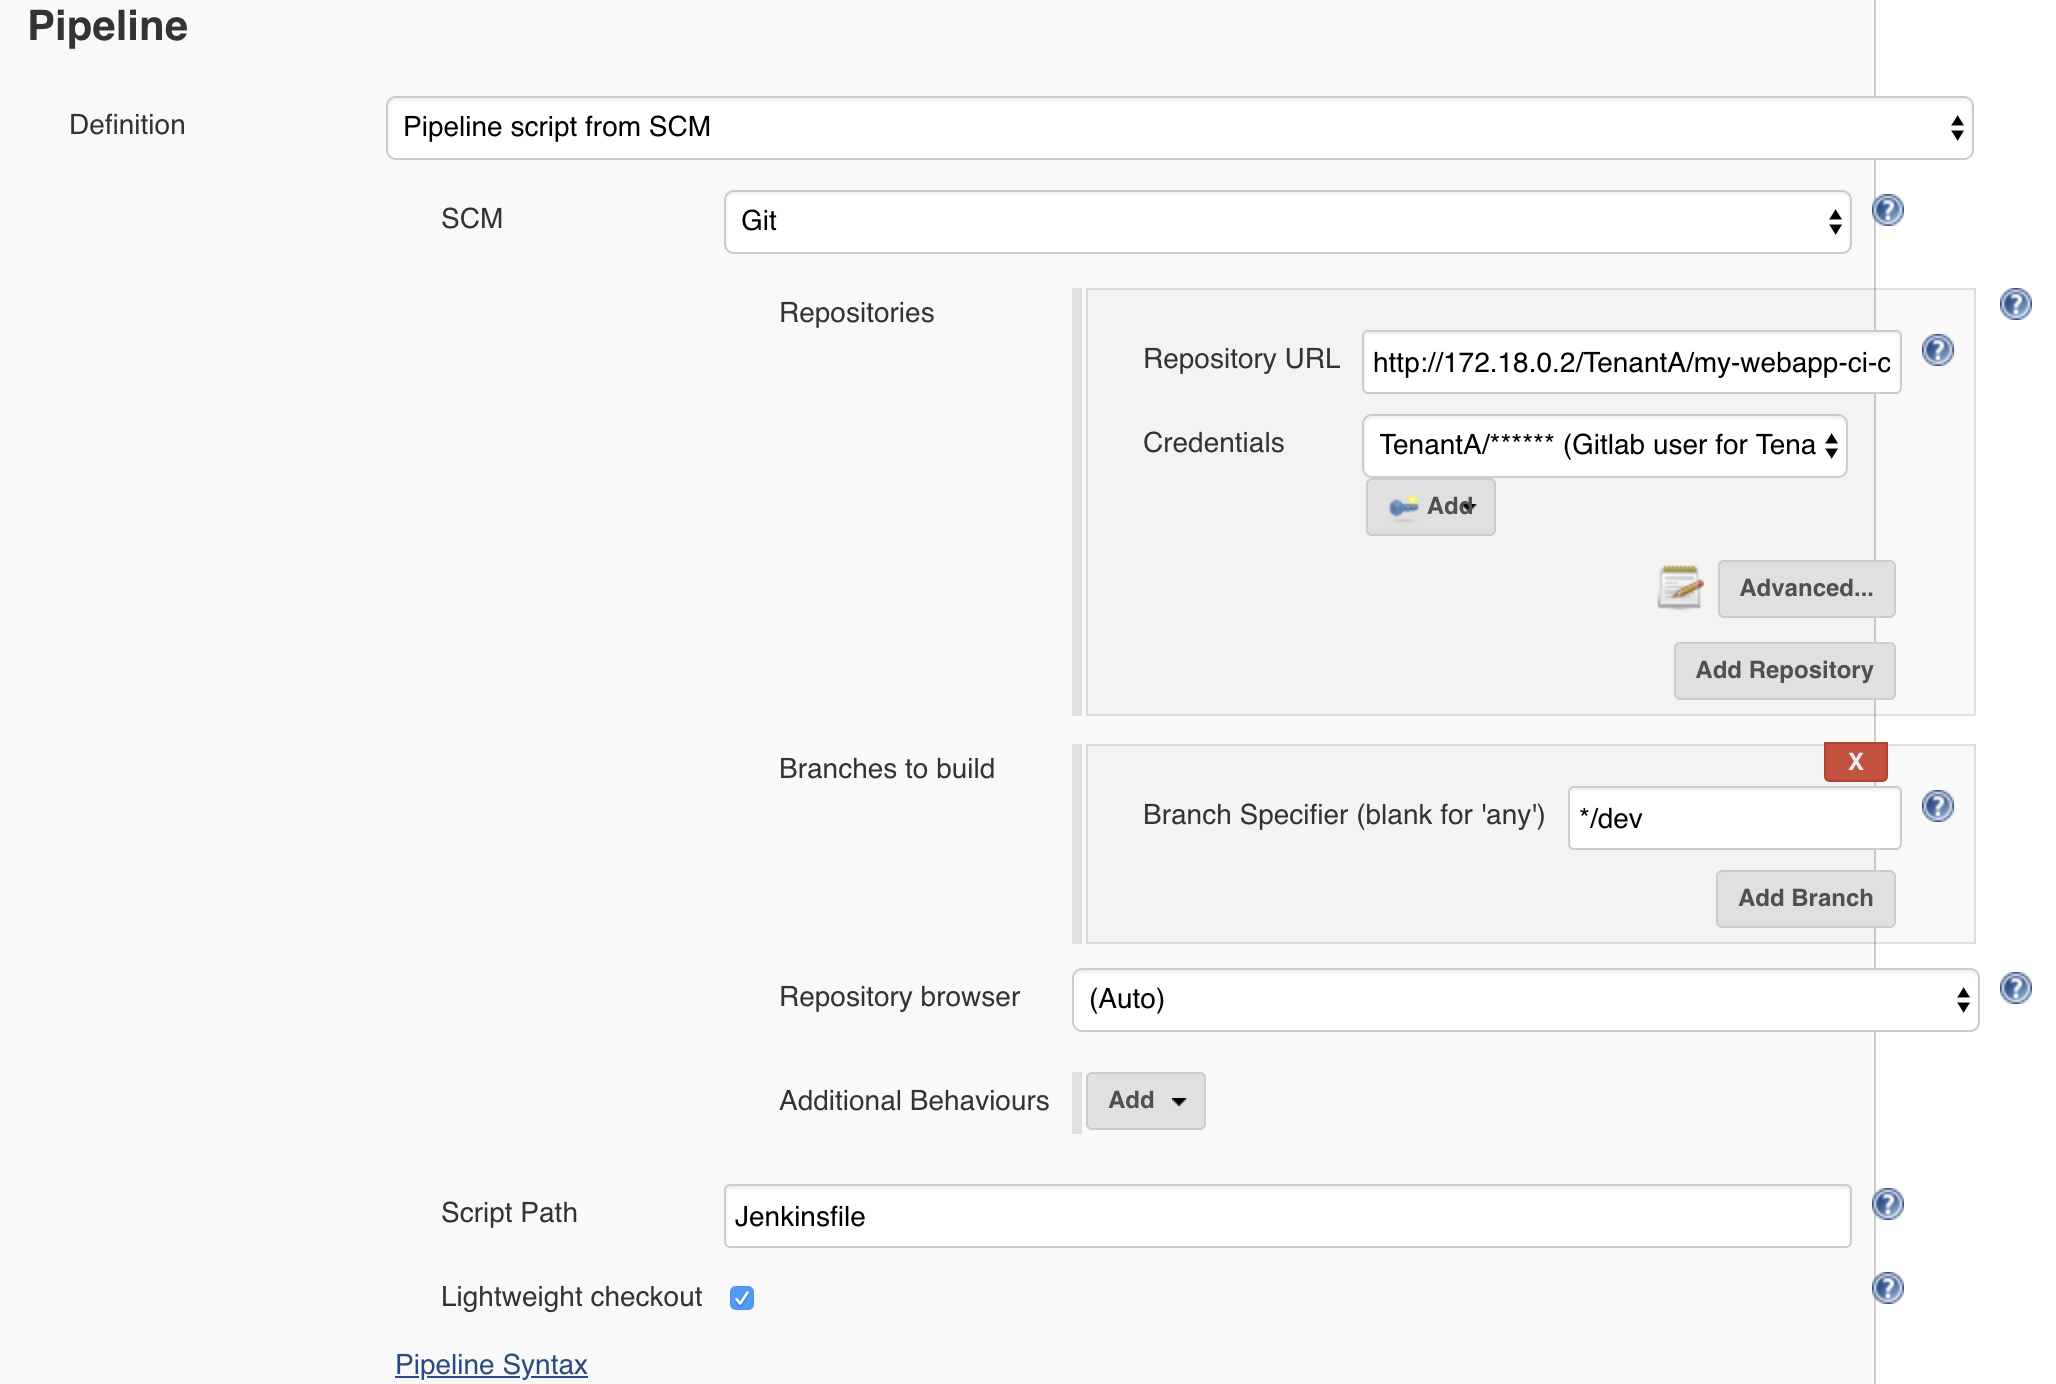
Here it explains how our pipeline will be executed:
- we specify the GitHub/GitLab repo and branch to retrieve automatically when the build is triggered. Here it means that as soon as a new build is happening, Jenkins will automatically retrieve this repo to make it available for processing
- we specify the Script Path. Here it is the jenkinsFile that contains the logic of our pipeline and what needs to be executed. Here we specify the name of the file: jenkinsFile and that it’s at the root of the repo we retrieved : my-webapp-ci-cd-demo

If you want to know more about jenkinsFile, you can check this JenkinsFileLink
This is our jenkinsFile:
#!groovy

pipeline {
    agent any
    stages {
            stage('Setup Env') {
                steps {
                    sh 'python --version'
                        echo 'Setup environment and needed modules'
                    sh 'git config --global user.email "n.menant@f5.com"'
                sh 'git config --global user.name "Nicolas Menant"'
                echo 'Cloning ADC-Services repo'
                sh 'git clone http://TenantA:Pa55w0rd@172.18.0.2/nicolas/ADC-Services.git'
                    dir('ADC-Services') {
                    sh 'git checkout dev'
                }
                }
            }
        stage('Build App') {
            steps {
                        echo 'Building Application...'
                        sh 'python jenkins/deploy-app/deploy-app.py'
            }
        }
        stage('Test App') {
            steps {
                    echo 'Testing Application...'
                        sh 'sleep 10'
                sh 'python tests/run_tests.py'
            }
        }
        stage('Build ADC Services definition') {
            steps {
                    echo 'Build ADC Services definition...'
                        sh 'python jenkins/adc-services/create-adc-services-definition.py'
                }
        }
        stage('Test ADC Service definition') {
            steps {
                echo 'Testing ADC Service Definition ..'
                sh 'python jenkins/adc-services/test-service-definition.py'
            }
        }
            stage('Push ADC Service definition') {
            steps {
                sh 'echo ${GIT_URL##*/} > appname.tmp'
                sh 'python jenkins/adc-services/push-adc-services-definition.py'
                dir('ADC-Services') {
                        sh 'git add .'
                        sh 'git commit -m "update from $GIT_URL / $GIT_BRANCH=`cat ../appname.tmp`###`cat ../my-adc-cluster/target-cluster`"'
                        sh 'git push'
                }
                }
        }
    }
    post {
        always {
            cleanWs()
        }
            success {
                    updateGitlabCommitStatus name: 'build', state: 'success'
            }
            failure {
                updateGitlabCommitStatus name: 'build', state: 'failed'
            }
    }
}
Our jenkinsFile will do the following:
- Retrieve another GitLab repo: ADC-Services. Once the app is deployed, we want to update this repo with the new service definition
- Execute the file jenkins/deploy-app/deploy-app.py in the repo my-webapp-ci-cd-demo we retrieved. it is the step called Build App in the build
- Execute the file tests/run_tests.py in the repo my-webapp-ci-cd-demo we retrieved. it is the step called Test App in the build
- Execute the file jenkins/adc-services/create-adc-services-definition.py in the repo my-webapp-ci-cd-demo we retrieved. it is the step called Build ADC Services definition in the build
- Execute the file jenkins/adc-services/test-service-definition.py in the repo my-webapp-ci-cd-demo we retrieved. it is the step called Test ADC Service definition in the build
- Execute the file jenkins/adc-services/push-adc-services-definition.py in the repo my-webapp-ci-cd-demo we retrieved. it is the step called Push ADC Service definition in the build. This script will update the repo ADC-Services and then will push the changes to GitLab
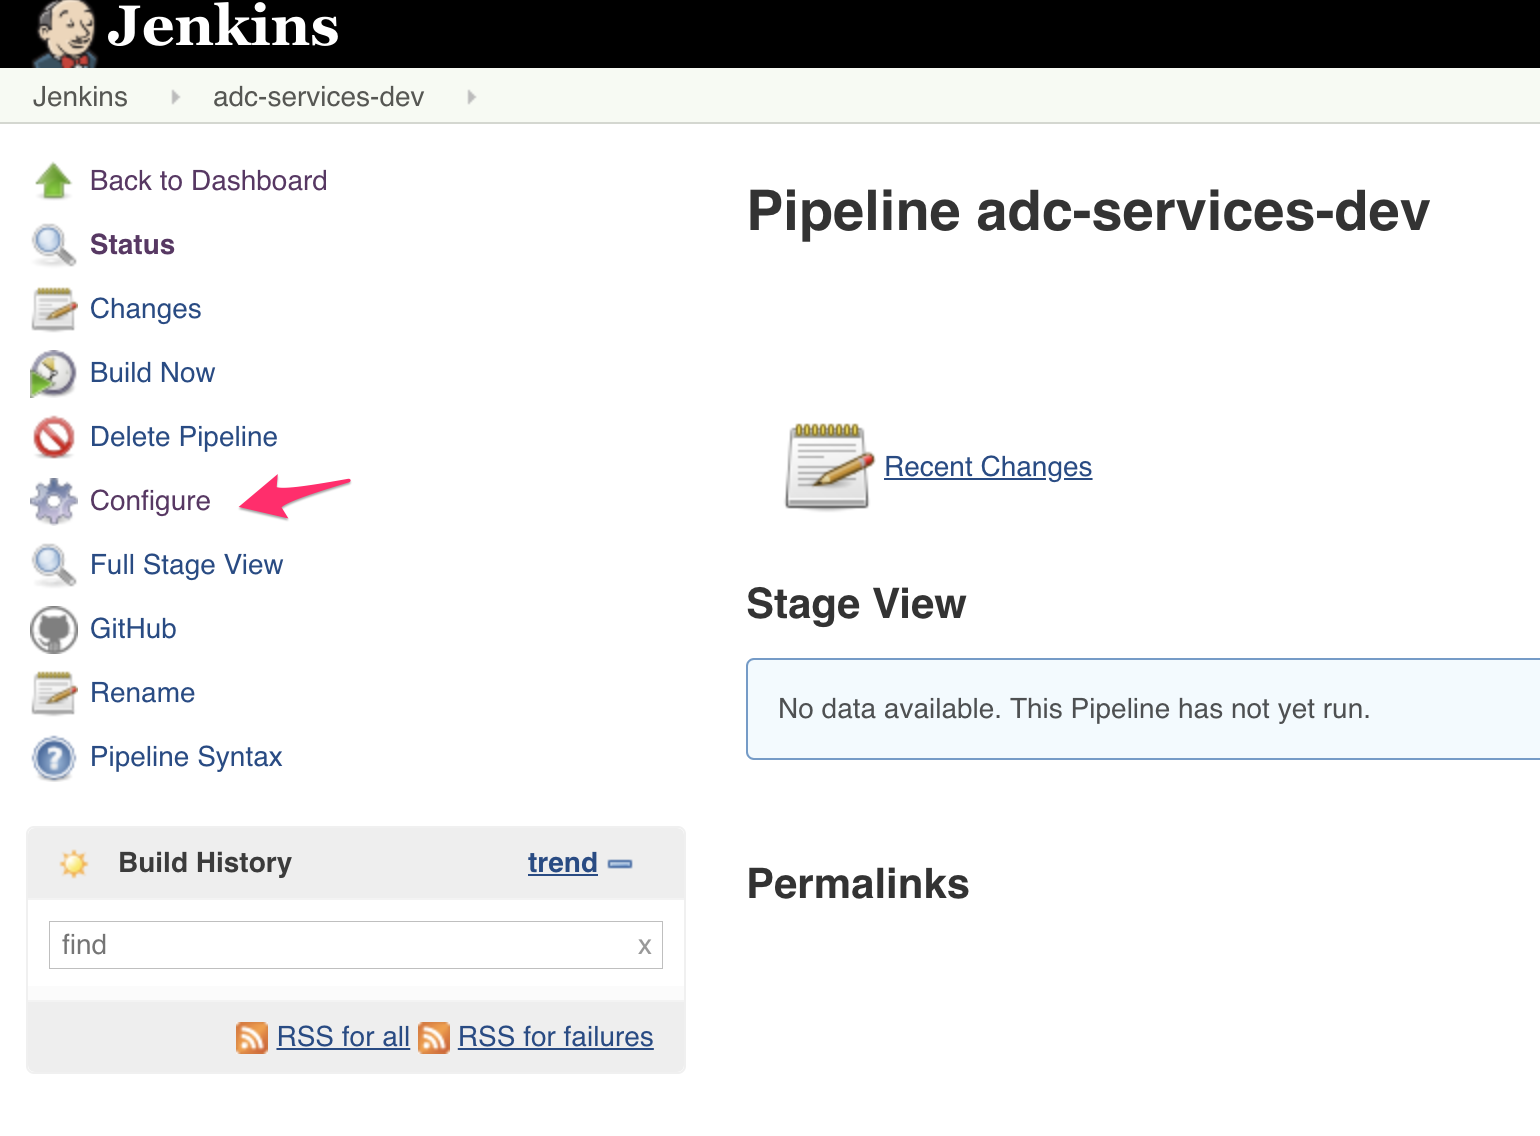
The adc-services-dev pipeline
The other pipeline available on Jenkins is called adc-services-dev.
You can click on Configure to review its setup.
Here a summary of its configuration:
- It’s “linked” to the GitLab repo ADC-Services
- It’s setup to be triggered by a WebHook going to http://172.18.0.3:8080/project/adc-services-dev. Remember that the ADC-Services GitLab repository has been setup to reach to this URL when a commit happen.
- It will rely on the script path jenkinsFile setup in the ADC-Services repo (root directory)

Here is the jenkinsFile in the ADC-Services repo:
#!groovy

pipeline {
    agent any
    stages {
        stage('Setup Env') {
            steps {
                    sh 'python --version'
                    echo 'Setup environment and needed modules'
            }
        }
       stage('Build AS3 Declaration') {
           steps {
                    echo 'Building Application...'
                    sh 'git log -1 > commit_msg.tmp'
                    sh 'python create-as3-declaration.py `cat commit_msg.tmp | grep "=" | rev | cut -d= -f1 | rev` $GIT_URL $GIT_BRANCH'
        }
      }
      stage('Test AS3 Declaration') {
          steps {
              echo 'Test AS3 Declaration...'
                    sh 'python test-adc-services.py'
       }
      }
      stage('Deploy AS3 Declaration') {
          steps {
              echo 'Deploy ADC Services'
                    sh 'python deploy-adc-services.py'
        }
      }
      stage('Test ADC and App') {
          steps {
              echo 'Testing ADC and Application...'
              sh 'python test-app-adc-services.py `cat commit_msg.tmp | grep "=" | rev | cut -d= -f1 | rev`'
        }
      }
  }
  post {
      always {
          cleanWs()
      }
        success {
            updateGitlabCommitStatus name: 'build', state: 'success'
        }
        failure {
                updateGitlabCommitStatus name: 'build', state: 'failed'
        }
  }
Here you can review the different “steps” of the pipeline and which scripts are tied to each steps.